How to Choose Job Site Storage Containers?

Choosing job site storage containers starts with the work happening on site, not with the container’s advertised capacity. Tools, materials, and equipment need different kinds of protection and access. A crew storing power tools may value secure doors and organized shelving, while bulky supplies call for clear floor space. Small details matter. Door placement can affect how easily a forklift or hand truck moves nearby, and a poorly placed unit can slow down daily tasks.

Before choosing, estimate what must be stored, how often workers need access, and how long the container will remain on site. Check dimensions, lock options, weather resistance, ventilation, and delivery requirements. A dry interior can help protect materials, but ventilation may matter when damp equipment is stored. There is no perfect configuration. A larger unit may provide room to grow, yet it can take up valuable space and cost more to transport. Those trade-offs deserve a site-specific review.

Look closely at the ground, access route, and expected storage conditions. Confirm that the delivery vehicle can reach the placement area and that doors can open without blocking work zones. Ask suppliers about construction, maintenance, and available sizes instead of relying on photos alone. This guide outlines practical ways to compare job site storage containers, identify common fit problems, and choose a unit that supports safe, efficient site operations. Some needs only become clear after work begins. Planning helps, but it is worth leaving room to reassess.
How to Choose Job Site Storage Containers?

Assess Job Site Storage Needs, Inventory, and Site Constraints

Before choosing a job site storage container, list what must stay on site and how often crews need it. Count tool cases, material bundles, and items that require dry, secure storage. Measure bulky equipment rather than guessing from its label. A stack of long pipes or ladders can use more floor space than expected. It adds up quickly.

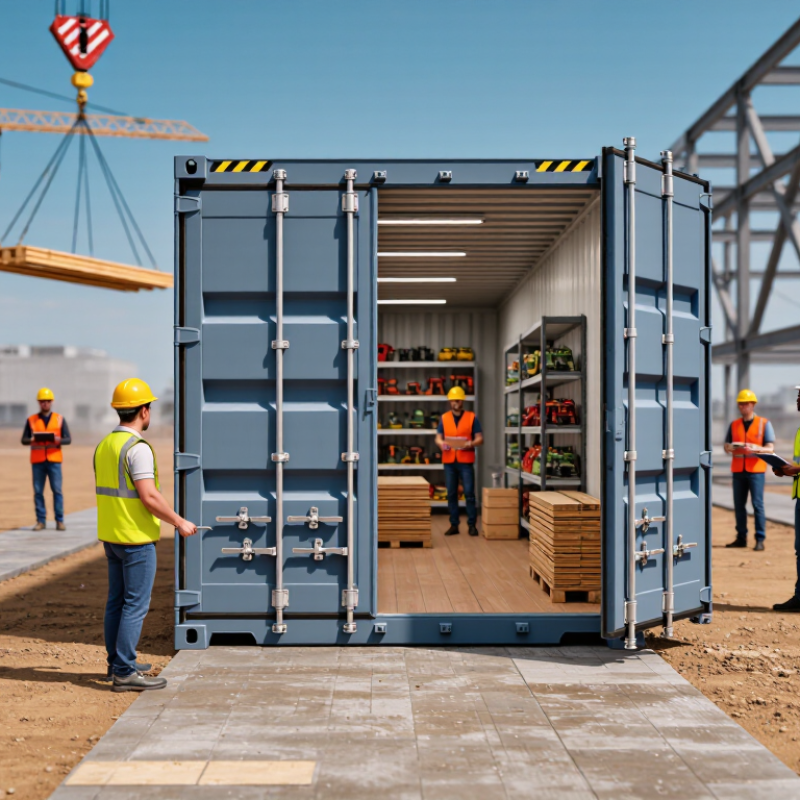
Match the container’s capacity to the real inventory, with room for safe access. Leave a clear path to frequently used items so workers do not have to unload half the container to reach one case. Note whether shelves, bins, or floor space will work best. Shelves help with small parts, but they may limit room for tall equipment. Check door width and height, too.

Then assess the site itself. Measure the delivery route, turning space, and the intended placement area. Look for soft ground, overhead branches, nearby structures, and drainage that could leave the doorway muddy. A level, accessible spot is easier to use. Site plans can be wrong; walk the route with a tape measure before ordering. Also consider how the container will affect daily vehicle and crew movement. A larger unit may seem safer, but it can obstruct a useful path.
How to Choose Job Site Storage Containers?

Assess job site storage needs, inventory, and site constraints.

A nominal 20-foot container has a footprint of about 160 sq ft; a 40-foot container has about 320 sq ft, based on standard nominal dimensions of 8 feet wide. Match container capacity to inventory volume and access needs, then verify the actual unit dimensions, delivery route, placement area, and required clearances before ordering.

Compare Container Types, Sizes, and Construction Materials

Choose the container type around the items, access, and weather exposure. A lockable steel storage container suits bulky tools and pallets; a job box is easier to position near a work crew but holds less. Insulated or lined units help protect temperature-sensitive materials, though they cost more and need ventilation planning. Small detail: check door clearance before delivery. A container that fits the site may still block a forklift route.

Size affects both capacity and handling. ISO 668:2020 specifies standard external lengths of 6,058 mm and 12,192 mm for common 20-foot and 40-foot containers; both are 2,438 mm wide. Measure usable interior space too, since door frames and fittings reduce it. Construction matters. Steel tolerates rough handling, but scratches can expose it to corrosion; plywood interiors are easier on fragile equipment, yet need protection from moisture. Check the rated floor load and the unit’s identification plate. OSHA’s 29 CFR 1926.250 requires stored materials to be secured against sliding or collapse. I would not size only for today’s tool list; crews and inventory change, and that estimate is often wrong.

Evaluate Security, Weatherproofing, Ventilation, and Accessibility

How to Choose Job Site Storage Containers?

Evaluate Security, Weatherproofing, Ventilation, and Accessibility

A job site container should match what you store and how often crews need it. Start with the contents: hand tools, bagged materials, and moisture-sensitive supplies have different needs. Check the door frame, hinges, and locking points; a sturdy lock cannot compensate for a weak latch. Weatherproofing matters just as much. Look for sound seals, a roof without visible gaps, and a raised, level base that keeps runoff away. After rain, inspect the floor and corners for dampness. Water often finds the detail nobody checked.

Ventilation is easy to overlook. Paint, adhesives, or damp workwear can leave stale air inside, while vents should not invite wind-driven rain. Consider the container’s location, too: direct sun can make the interior hot, and nearby equipment may block airflow. Accessibility affects daily work. Wide doors, clear interior paths, and shelving that keeps frequently used items near the entrance can save repeated trips. A container can be secure and weather-resistant yet still frustrate crews if materials are buried behind other supplies.

Verify Delivery, Placement, and Job Site Safety Requirements

Before delivery, confirm the container’s dimensions, arrival window, and unloading method with the supplier. Measure the access route, not just the final parking space. A delivery truck may need extra room to turn, reverse, or operate lifting equipment. Check for low branches, overhead lines, gates, soft shoulders, and parked vehicles. Small details matter.

Choose a firm, level placement area that stays clear of active work zones and emergency routes. Ask the site supervisor to check ground conditions and any underground services before positioning the unit. Keep doors facing an accessible path, with enough clearance for workers to open them without stepping into traffic. Plans are rarely perfect; a quick site walk-through can reveal a blocked route or muddy patch that looked harmless on a drawing.

Agree on who will guide the delivery and how workers will stay clear while the container is unloaded. Use the site’s established traffic controls, and keep people outside the equipment’s operating area. After placement, inspect the ground for settling and make sure the container does not obstruct signs, lighting, or walkways. Recheck these conditions when the site layout changes. A container can be secure on Monday and poorly placed by Friday.

How to Choose Job Site Storage Containers? — Verify Delivery, Placement, and Job Site Safety Requirements

Selection Check What to Verify Job Site Requirement Ready-to-Approve Condition
Container size and capacity Confirm external and internal dimensions, door opening, usable floor area, payload rating, and container condition. Common cargo-container lengths include 20 ft and 40 ft; exact dimensions vary by unit. Compare the unit with the storage inventory, planned shelving, equipment dimensions, and available site footprint. The selected unit fits the intended contents without blocking the doors or exceeding its rated capacity.
Delivery vehicle access Ask for the delivery vehicle type, turning needs, operating clearances, and any overhead-height requirements. Check the route for gates, tight turns, parked vehicles, overhead wires, and soft ground. Keep the planned route clear and confirm that the vehicle can approach and leave without entering restricted or unsafe areas. The delivery route and maneuvering area have been checked on site and communicated to the delivery team.
Delivery timing and coordination Confirm delivery date, arrival window, unloading method, site contact, access instructions, and procedures for delays or changed site conditions. Schedule delivery when the access route and placement area are clear and an authorized site representative is available. The site contact has confirmed the delivery plan and knows how to stop or redirect delivery if conditions are unsafe.
Placement and ground condition Check that the proposed surface is firm, stable, reasonably level, and suitable for the unit’s weight. Consider drainage, settlement, access for maintenance, and the delivery equipment’s support needs. Use a location that does not obstruct site traffic, emergency routes, pedestrian paths, utilities, or planned work. Prepare a suitable bearing surface where needed. The placement area is approved by the site lead; any ground preparation or support requirements are agreed before delivery.
Utilities and underground services Identify overhead and underground utilities, drainage structures, buried services, and any utility easements near the route or placement area. Follow local utility-locating procedures and site rules before ground disturbance or placement near services. Maintain required clearances as determined by the relevant authority or utility owner. Relevant services have been identified and required clearances or permissions have been confirmed.
Work zone and lifting safety Confirm who controls the delivery operation, how the work area will be isolated, and how workers and vehicles will be kept clear during unloading and positioning. Use the site’s traffic-management and safety procedures. Keep people out of the delivery equipment’s operating area and never stand beneath a suspended load. A responsible person is assigned, the exclusion area is established, and delivery can be paused if conditions change.
Fire, access, and emergency planning Check local fire rules, site emergency plans, required access routes, and any restrictions on storing fuels, chemicals, gas cylinders, or other hazardous materials. Keep exits, fire lanes, firefighting equipment, and emergency access unobstructed. Store regulated materials only where permitted and in accordance with applicable requirements. The location and intended contents are consistent with the site emergency plan and applicable local requirements.
Security and daily use Inspect doors, hinges, locking points, ventilation, weather seals, and any proposed lighting or access controls. Decide who holds keys and who may enter. Position the unit where authorized workers can reach it safely while maintaining visibility and avoiding conflicts with site operations. The unit is serviceable, access is controlled, and storage and inspection responsibilities are assigned.
Permits and site authorization Confirm whether the property owner, project manager, local authority, or other relevant party requires approval, permits, inspections, or temporary-use documentation. Requirements vary by location, project, and intended use; check them before ordering or positioning the container. Required approvals are documented, and the planned use and location have been accepted by the responsible parties.

Planning note: Dimensions, delivery clearances, ground support, permits, and safety rules depend on the specific container, delivery equipment, site conditions, and local requirements. Confirm them with the delivery provider and the responsible site or local authority before delivery.

Compare Suppliers, Costs, and Rental or Purchase Terms

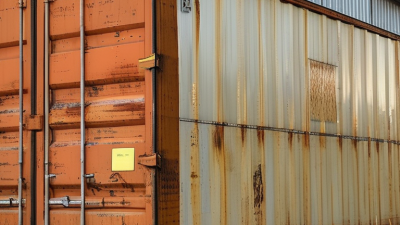
Compare suppliers on the full service, not just the monthly price. Ask whether delivery, placement, pickup, and basic repairs are included. Request a written quote listing the container’s size, condition, access hours, and any site-preparation fees. If you can inspect it, check the door seams, hinges, floor, and roof for rust or damage. A damp smell matters. It may point to poor ventilation or a leak.

Renting can suit projects with uncertain timelines or changing storage needs. Check the minimum rental period, renewal terms, cancellation fees, and charges for damage or late return. Ask whether delivery is billed each way. For a longer project, compare total rent with the purchase price plus maintenance and eventual removal. Ownership is not automatically cheaper if the container sits unused or needs frequent relocation.

Put each supplier’s quoted costs and terms in a simple comparison sheet. Include the expected rental duration, delivery distance, and who handles repairs. Ask how quickly service issues are usually addressed, and get the answer in writing. Estimates can still miss a fee or delay; I would leave room in the budget for that. A careful comparison makes the trade-offs easier to see.